In the world of web development, encountering errors is inevitable. Among these, the “Whitelabel Error Page” is one that many developers, particularly those working with Spring Boot, may encounter. This article will delve into what the Whitelabel Error Page is, why it appears, and how to troubleshoot and customize it effectively. By the end of this guide, you’ll have a deep understanding of the Whitelabel Error Page and the steps you can take to handle it in your applications.
Understanding the Whitelabel Error Page
What is the Whitelabel Error Page?
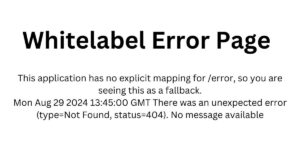
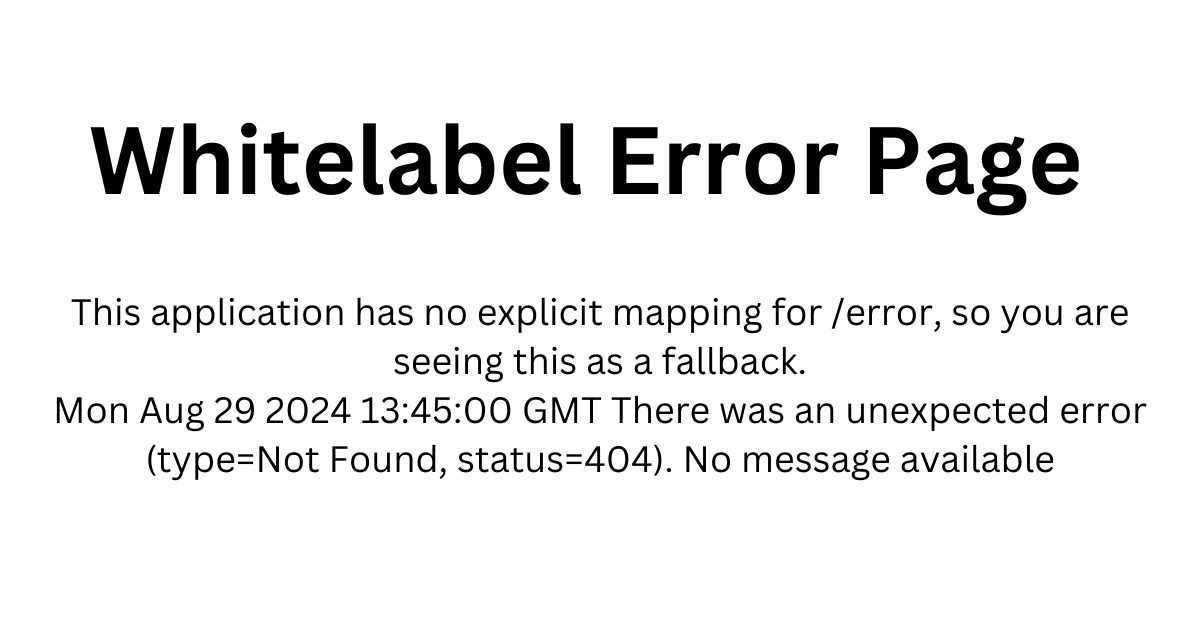
The Whitelabel Error Page is a default error page provided by Spring Boot, a popular Java-based framework for building web applications. When an error occurs and there is no custom error page configured, Spring Boot displays this generic page to the user. It’s a basic page with minimal styling, designed to give the user or developer a clear indication that something has gone wrong without exposing too much information that could be sensitive.
Why Does the Whitelabel Error Page Appear?
The Whitelabel Error Page appears when a Spring Boot application encounters an issue that it cannot handle or when there is no custom error handling in place. This page is particularly useful during development as it provides developers with a simple and clear indication of where an issue might be occurring. However, in a production environment, displaying such a generic page might not be ideal, which is why customization is often necessary.
Common Scenarios Leading to the Whitelabel Error Page
Several scenarios can lead to the appearance of the Whitelabel Error Page:
- Uncaught Exceptions: If an exception is thrown and not caught within the application, Spring Boot will display the Whitelabel Error Page.
- Missing Resources: When a user requests a resource (like a webpage or API endpoint) that doesn’t exist, the Whitelabel Error Page is displayed.
- Server Errors: Errors on the server side, such as issues with database connections or internal server errors (500), can also trigger this page.
Troubleshooting the Whitelabel Error Page
Identifying the Root Cause
When faced with a Whitelabel Error Page, the first step is to identify the root cause of the error. Spring Boot typically logs the error details in the console, which can help in diagnosing the issue. Here are some steps you can take:
- Check the Logs: Spring Boot logs detailed error information to the console or log files. Look for stack traces or error messages that can give you insight into what went wrong.
- Reproduce the Error: Try to reproduce the error by following the same steps that led to the Whitelabel Error Page. This can help in narrowing down the possible causes.
- Review Recent Changes: If the error started occurring after recent changes to the code or configuration, review those changes for potential issues.
Common Errors and Their Fixes
- 404 Not Found: This occurs when the requested resource is not found. Ensure that the URL is correct and that the resource exists in the application.
- Fix: Verify the routing and ensure the controller methods or static resources are correctly mapped.
- 500 Internal Server Error: This indicates a server-side issue, such as a null pointer exception or a database connection error.
- Fix: Check the stack trace for details on the exception and address the underlying issue in the code or configuration.
- 403 Forbidden: This error occurs when the user does not have permission to access the requested resource.
- Fix: Review the security configurations and ensure that the user has the necessary permissions.
- 400 Bad Request: This usually happens due to malformed requests or missing required parameters.
- Fix: Ensure that the request is properly formatted and that all required parameters are provided.
Customizing the Whitelabel Error Page
Why Customize the Whitelabel Error Page?
The default Whitelabel Error Page is helpful during development, but it might not be ideal for a production environment. Customizing the error page can enhance the user experience by offering clearer information or a more polished design. A personalized error page also allows for better alignment with your application’s branding and can provide users with guidance on how to proceed.
Also Read: Understanding SSIS-950: A Comprehensive Guide
Steps to Customize the Whitelabel Error Page
1. Create a Custom Error Page
To customize the Whitelabel Error Page, you can create a custom HTML file and place it in the appropriate directory.
- Step 1: Create an
error.htmlfile in thesrc/main/resources/templatesdirectory (for Thymeleaf) orsrc/main/resources/static(for a static HTML file). - Step 2: Design the page to include helpful information, such as a user-friendly error message, links to navigate back to safety, and your application’s branding.
2. Configure Error Handling in Spring Boot
Spring Boot allows you to map specific error pages to different HTTP status codes. You can configure this in your application.properties file or through a @ControllerAdvice class.
- Option 1: application.properties:
server.error.path=/error
server.error.whitelabel.enabled=false - Option 2: @ControllerAdvice: Create a
@ControllerAdviceclass to handle specific exceptions or HTTP status codes and return custom views.
@ControllerAdvice
public class CustomErrorController {
@ExceptionHandler(Exception.class)
public ModelAndView handleException(HttpServletRequest request, Exception ex) {
    ModelAndView model = new ModelAndView("error");
    model.addObject("message", ex.getMessage());
    return model;
}

@RequestMapping("/error")
public String handleError() {
    return "error";
}
}
3. Using ErrorController Interface for Advanced Customization
For more advanced customization, you can implement Spring Boot’s ErrorController interface. This gives you complete control over the error handling process and the response returned to the client.
- Step 1: Implement the
ErrorControllerinterface in a custom controller.
@Controller
public class MyErrorController implements ErrorController {
@RequestMapping("/error")
public String handleError() {
    // Custom logic
    return "customError";
}

@Override
public String getErrorPath() {
    return "/error";
}
}
- Step 2: In the method, you can add logic to determine the type of error and return different views accordingly.
Best Practices for Custom Error Pages
When customizing error pages, keep the following best practices in mind:
- User-Friendly Messages: Avoid technical jargon in the error message. Use language that is easy for non-technical users to understand.
- Brand Consistency: Ensure the error page matches your application’s design and branding.
- Guidance and Navigation: Provide users with options to navigate back to a safe part of the application, such as a homepage link or a search bar.
- Minimal Exposure of Information: Do not expose sensitive information, such as stack traces, especially in production environments.
Handling Errors in REST APIs
Returning Custom Error Responses
When working with RESTful APIs, the Whitelabel Error Page is not suitable. Instead, you should return custom error responses in JSON or XML format.
- Step 1: Create a custom error response class.
public class ApiErrorResponse {
private int status; private String message;
private long timestamp;
// Getters and setters}
- Step 2: Use a
@ControllerAdviceclass to handle exceptions globally and return a custom error response.
@ControllerAdvice
public class RestExceptionHandler {
@ExceptionHandler(Exception.class)
@ResponseBody
public ResponseEntity<ApiErrorResponse> handleException(Exception ex) {
    ApiErrorResponse response = new ApiErrorResponse();
    response.setStatus(HttpStatus.INTERNAL_SERVER_ERROR.value());
    response.setMessage(ex.getMessage());
    response.setTimestamp(System.currentTimeMillis());

    return new ResponseEntity<>(response, HttpStatus.INTERNAL_SERVER_ERROR);
}
}
Testing Error Handling in APIs
After implementing custom error handling, it’s important to thoroughly test your APIs to ensure that they return the correct error responses.
- Manual Testing: Manually trigger errors by making invalid requests and verify that the custom error response is returned.
- Automated Testing: Write automated tests to simulate various error scenarios and validate the responses.
Read Next: Flashata: The Future of Data Storage and Transfer
Preventing Common Errors
Input Validation
One of the most effective ways to prevent errors that could lead to it is to implement robust input validation. This can prevent common issues like malformed requests or missing parameters.
- Client-Side Validation: Implement validation on the client side using HTML5 or JavaScript to catch errors before the request is sent.
- Server-Side Validation: Use annotations like
@Validand@NotNullin Spring Boot to enforce validation on the server side.
Proper Exception Handling
Ensure that exceptions are properly handled within the application to prevent them from bubbling up to the user and triggering this error.
- Try-Catch Blocks: Use try-catch blocks to handle exceptions where appropriate.
- Custom Exception Classes: Create custom exception classes to handle specific error scenarios in a more controlled manner.
Regular Code Reviews and Testing
Regular code reviews and testing can help catch issues early before they result in a Whitelabel Error Page.
- Code Reviews: Conduct thorough code reviews to ensure that best practices are followed and potential issues are identified.
- Unit and Integration Testing: Write unit and integration tests to validate the functionality of your application and its error handling.
Conclusion
The Whitelabel Error Page is a useful tool for developers during the development phase, providing a clear indication of errors when they occur. However, in a production environment, it’s important to customize the error handling to improve user experience and maintain the professionalism of your application. By understanding the root causes of it, implementing robust error handling, and following best practices for customization, you can create a seamless experience for your users even when things go wrong.
Remember, error handling is not just about preventing the Whitelabel Error Page from appearing; it’s about creating a resilient application that can gracefully handle unexpected situations. By following the strategies outlined in this article, you’ll be well-equipped to manage and customize error handling in your Spring Boot applications.